Quick Start & Setup
Overview
This section walks you through setting up CodeKnack in your GitHub organization and enabling core features like automated code reviews and the Knowledge Graph. By the end, you'll have an AI-powered review system running directly in your GitHub PR workflow — no extra tools or manual overhead required.
1. Installing CodeKnack
Step 1: Visit the CodeKnack Dashboard
Go to codeknack.ai (opens in a new tab) to begin setup. You'll land on the home page with product information, certifications, terms, and privacy policy.
Step 2: Sign In with GitHub
Click "Get Started with GitHub". You'll be redirected to GitHub for OAuth authorization.
Note: Currently, CodeKnack supports GitHub only. GitLab/Bitbucket support is planned for future releases.
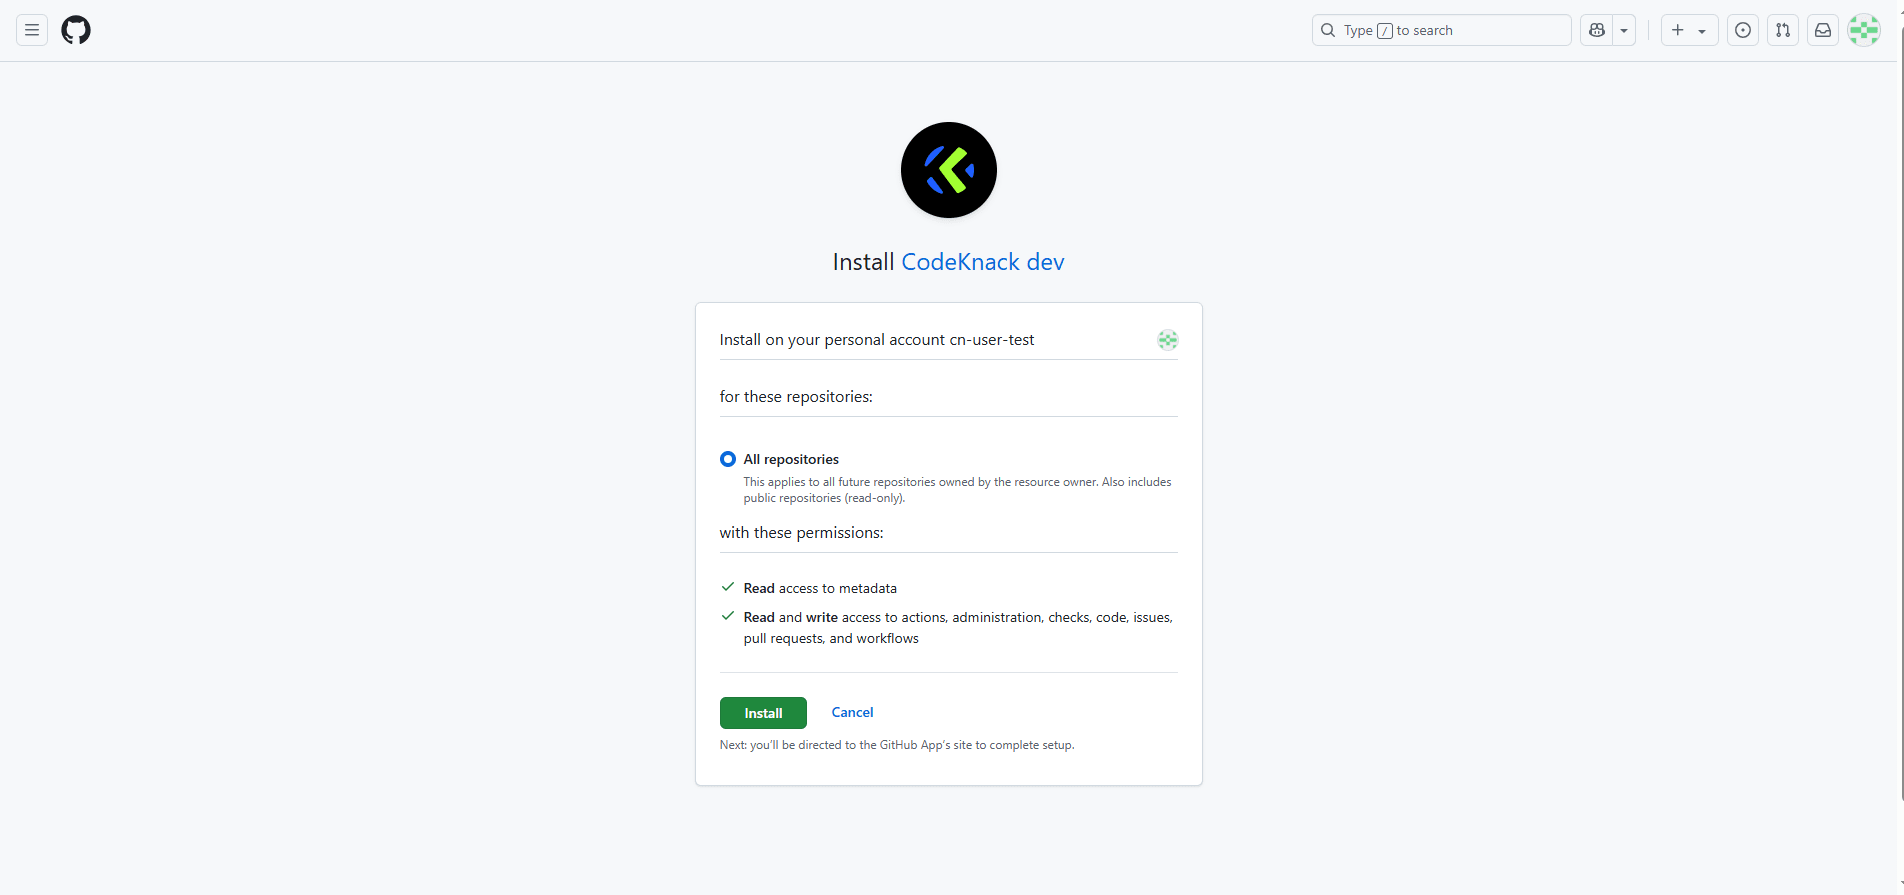
Step 3: Connect a GitHub Organization
After signing in, click "Connect Workspace" to begin linking your GitHub organization. You'll be prompted to select which repos CodeKnack can access:
- All repositories, or
- Specific repositories (you can update this later)

Once connected, you'll be taken to the CodeKnack dashboard, where you'll see your organization and repos listed.
2. Enabling Code Review Agent
Step 4: Enable Code Review for a Repository
In the dashboard, toggle the switch next to the repositories you want CodeKnack to review.
Once enabled, CodeKnack will automatically monitor pull requests and start providing reviews.

To perform deep, contextual reviews, CodeKnack builds a code graph of your repository. This is done automatically when you enable code review and allows the agent to understand your codebase across files and modules.
Language Support The code graph currently supports the following languages: JavaScript, TypeScript, Python, Go, Java, C# (.NET Framework and .NET ≤ 8), Kotlin, PHP, and Ruby.
For other languages, CodeKnack still performs reviews using limited context, without full code graph analysis.
Additional languages are added regularly based on community feedback.
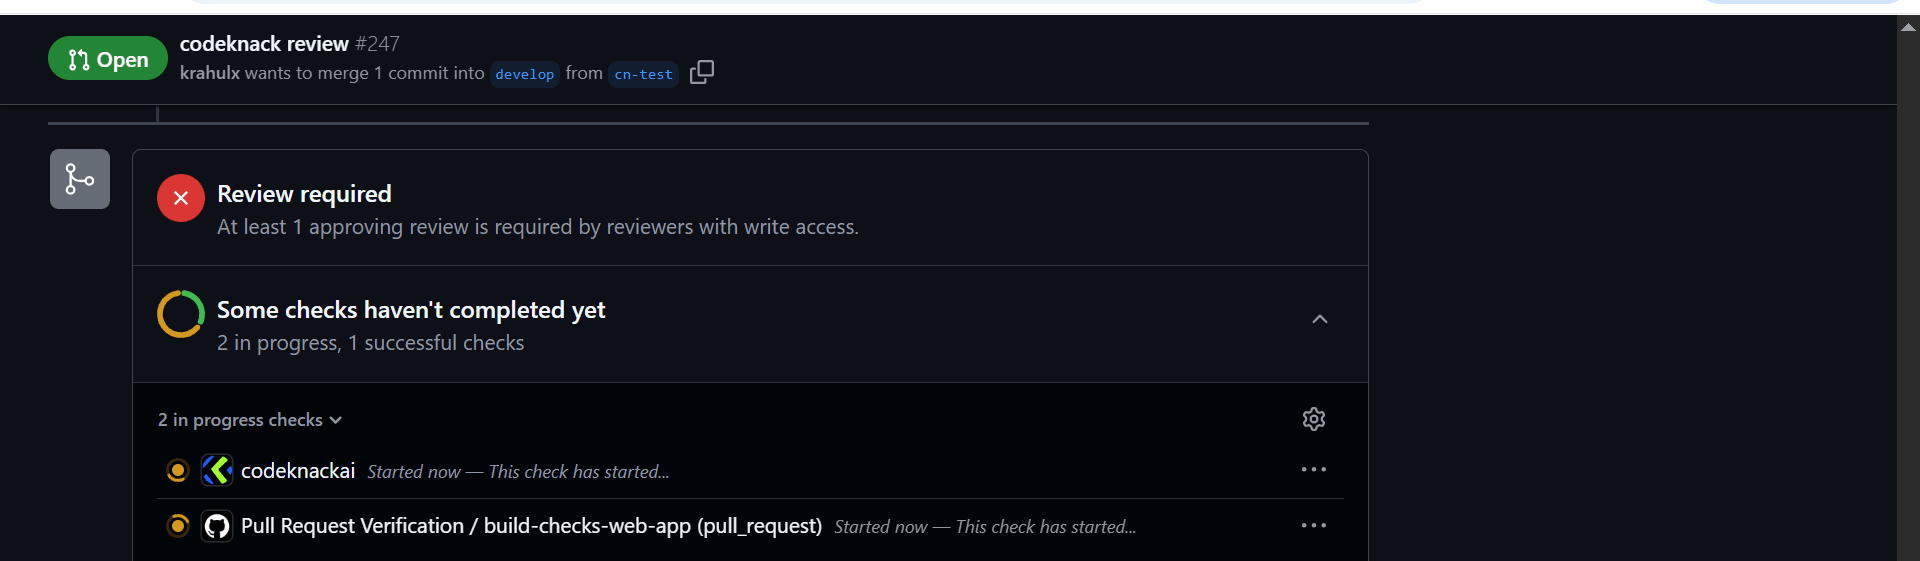
Step 5: Create or Open a Pull Request
Once enabled, raise a new PR in the selected repository. You'll see:
- A GitHub Check showing review in progress
- A comment from CodeKnack summarizing the PR
- Inline suggestions or comments if issues are detected
What You'll Get:
- PR Summary (overview + sequence diagram)
- Inline Feedback on logic, security, performance, etc.
- Actionable Comments only — no noise
Optional Controls
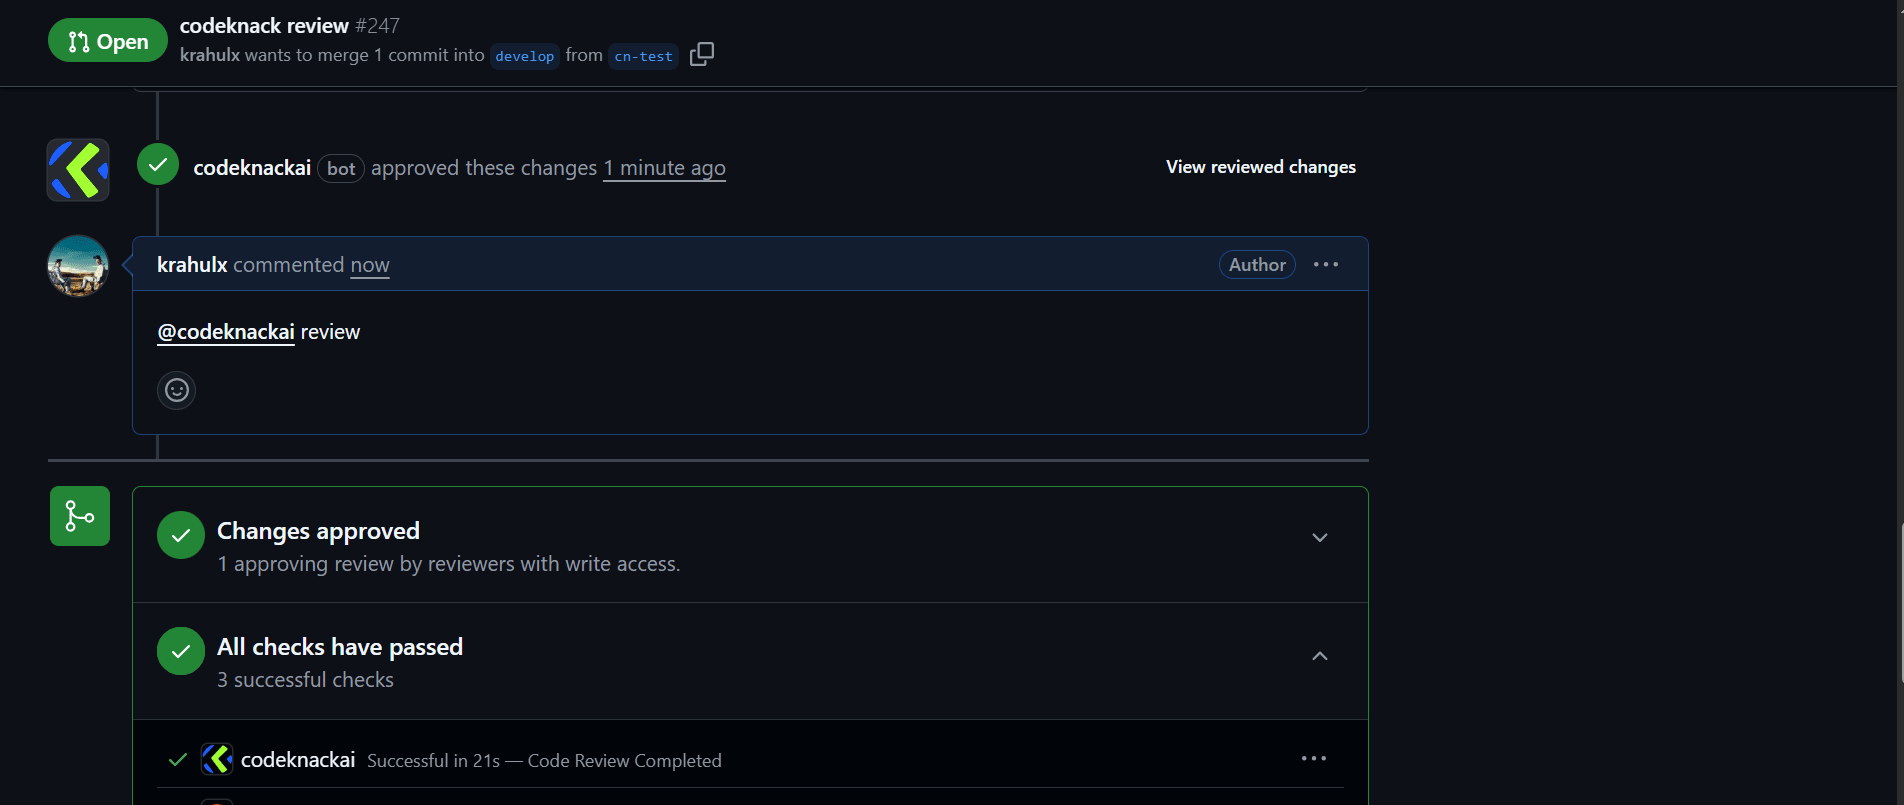
- Use
@codeknackai reviewin a comment to manually trigger a review - Add
@codeknackai ignorein the PR description to skip review - Respond to agent comments using
@codeknackai <your message>
3. Enabling the Knowledge Graph
Step 6: Knowledge Graph
The knowledge graph feature is automatically enabled when code review is active for languages such as JavaScript and TypeScript. It analyzes your code to build a structured representation of entities like functions, classes, and their relationships within each pull request.
-
The knowledge graph is only used during code review for supported languages.
-
Its purpose is to help reviewers better understand code structure and dependencies, improving review quality and efficiency.
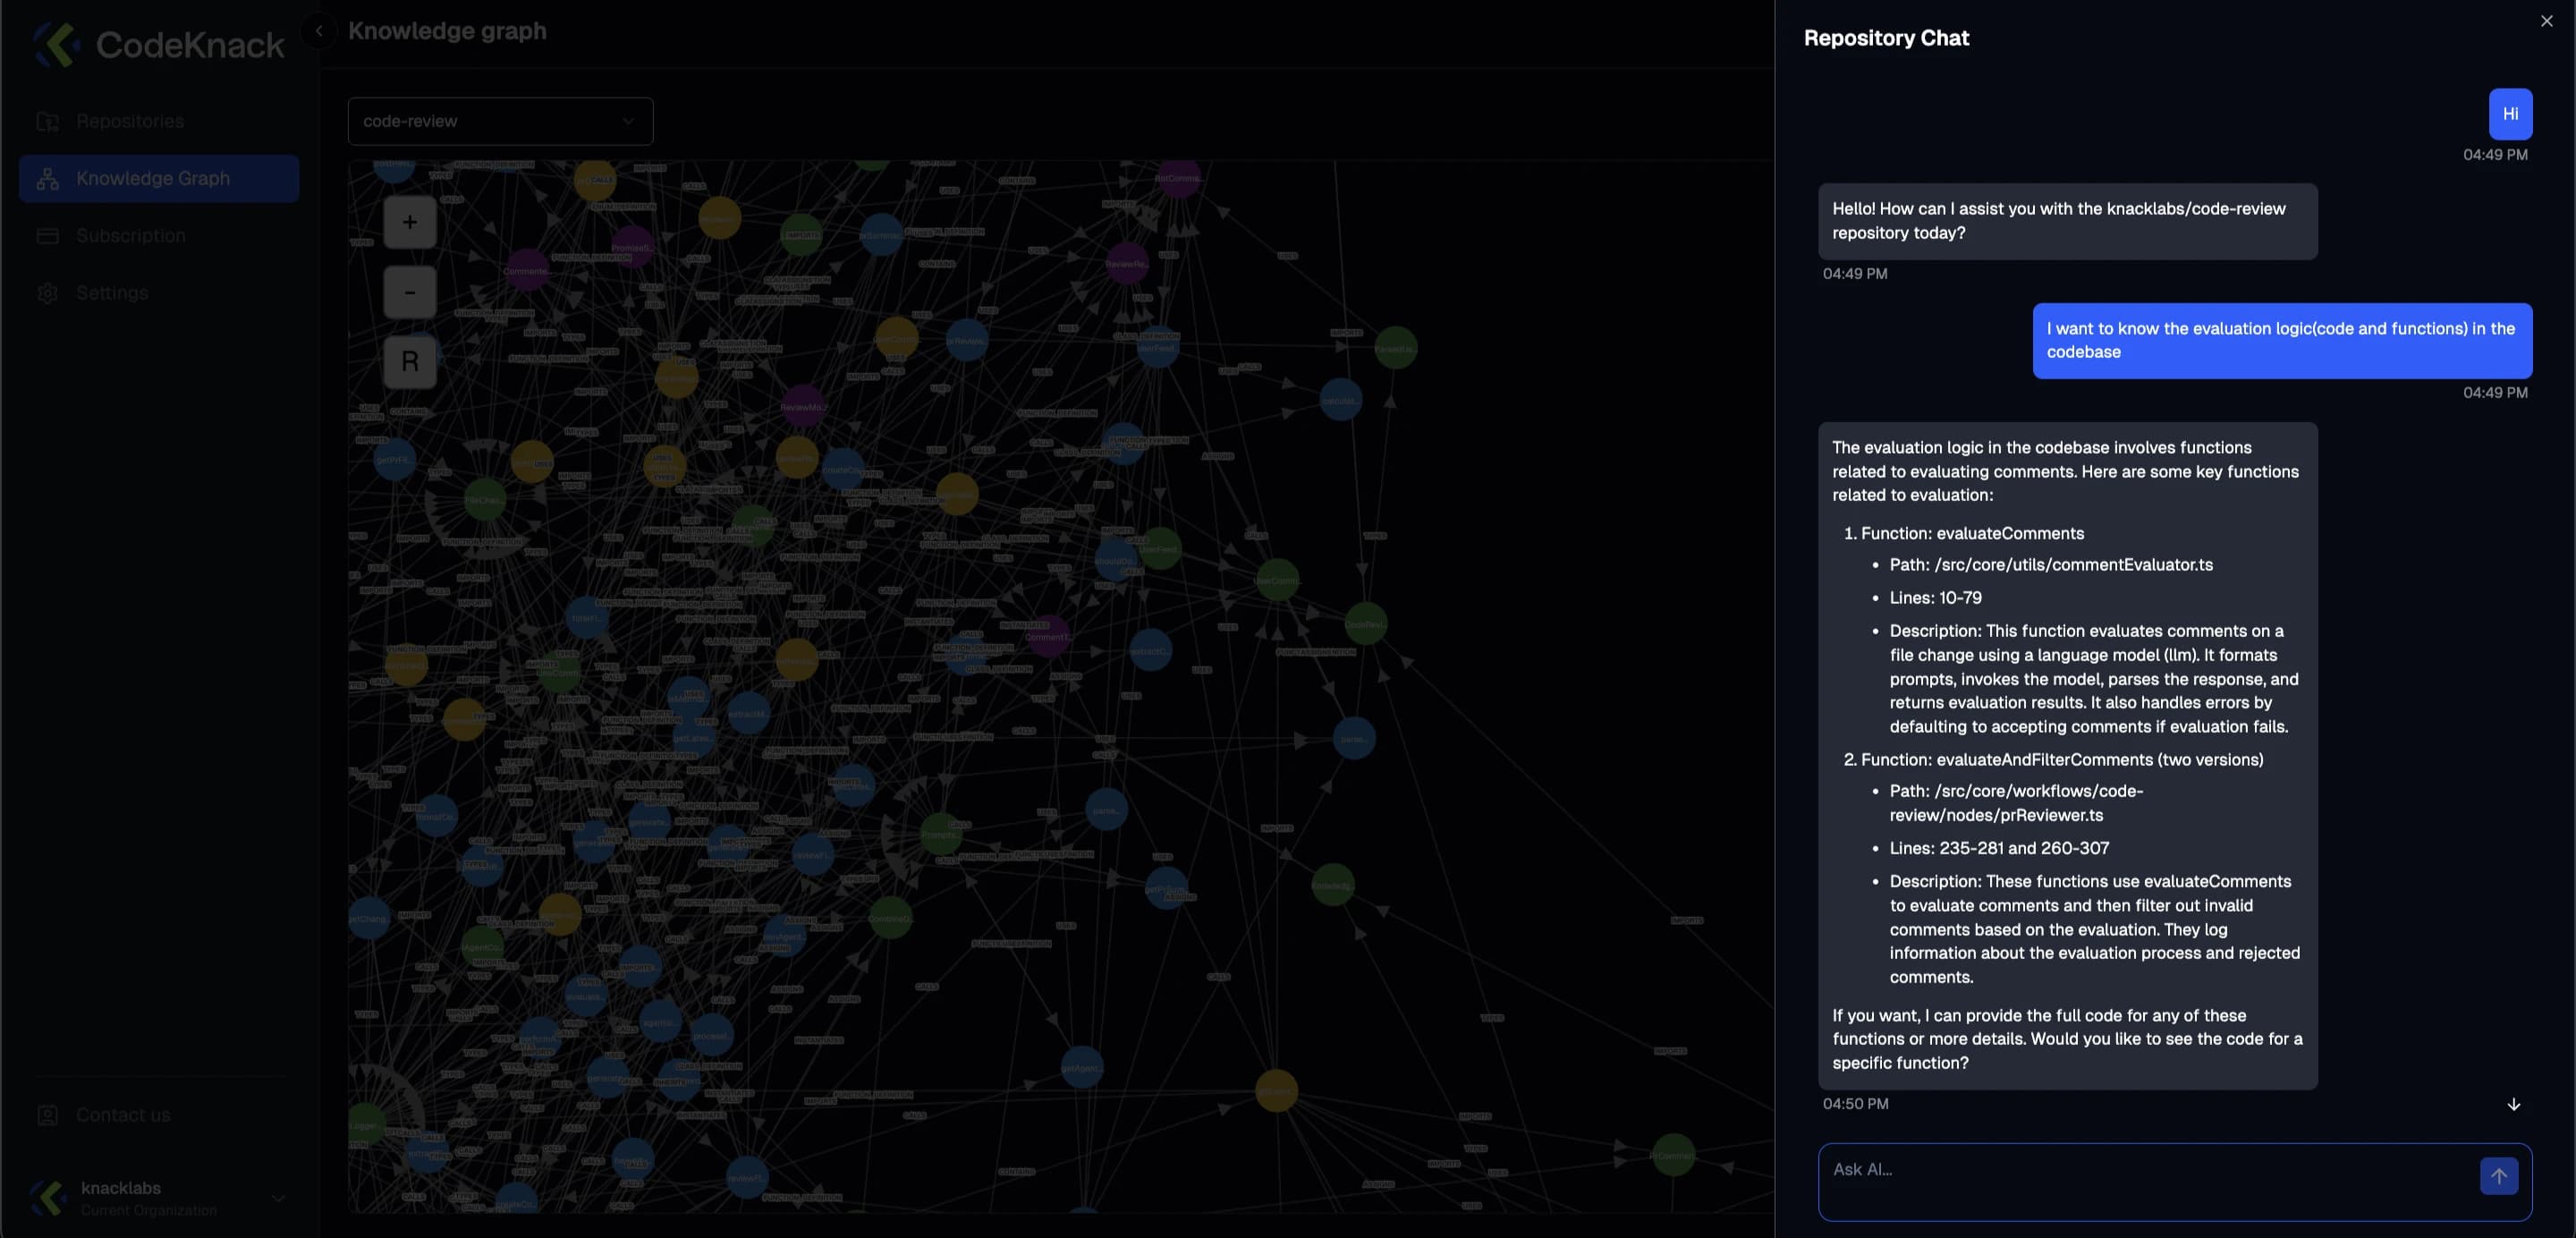
Step 7: Chat with the Codebase
On the Knowledge Graph page, you can chat with your codebase using natural language. Use the chat assistant in the top-right corner of the graph view to ask repo-specific questions. Example queries:
- "Where is fetchUserData() used?"
- "Show all classes that use AuthService."
You're All Set!
You now have:
- AI-powered code reviews running on PRs
- Detailed PR summaries with sequence diagrams
- A live, interactive view of your repo structure via the Knowledge Graph
- A built-in AI assistant to help navigate your code